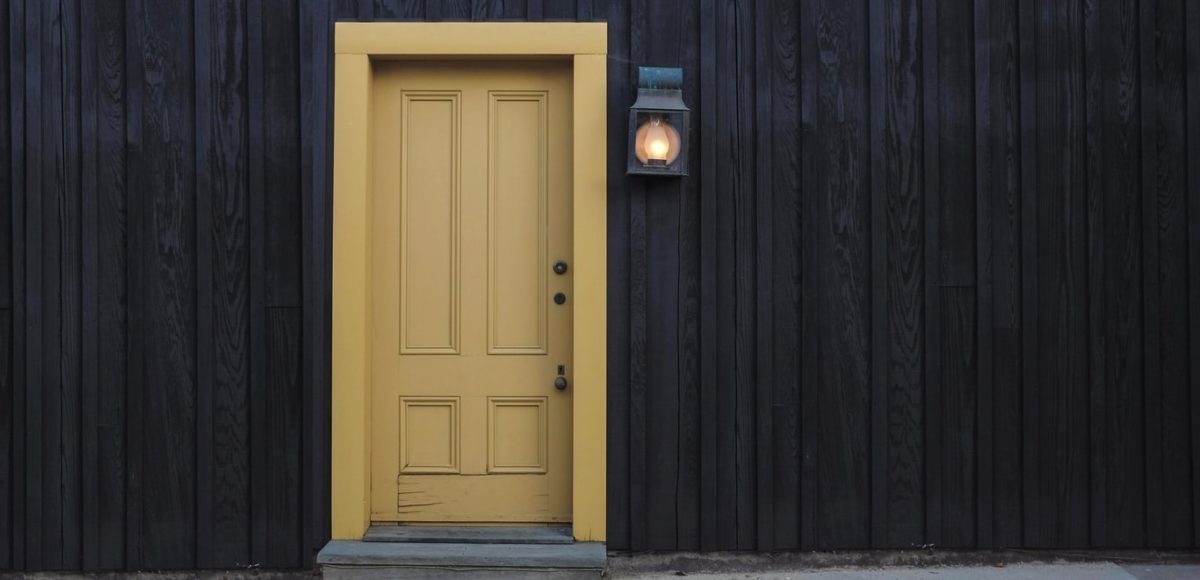
Want an easy way to boost your home’s curb appeal? Consider repainting your front door if you’re not into gardening and avoiding major renovations at all costs. With a few affordable materials and these easy-to-follow steps for painting an outside door, you can give your home an instant facelift!
Step 1: Make a plan.
First thing’s first — pick a color! Will you go neutral with a fresh coat of white or add a pop of color with a bright blue? You’ll also need to decide if you want a glossy, satin, or matte finish, and if you wish to upgrade the hardware as well.
Find your inspiration and head to your nearest hardware store! Be sure you have all the necessary materials you’ll need before you start your project:
- Sanding block and sandpaper
- Rags
- Painter’s tape
- Drop cloth
- Paint bucket
- Stir stick
- Wide paintbrush and small roller brush
- Exterior door paint and primer
- Mask and safety goggles
- Flathead screwdriver or chisel (optional)
- Two sawhorses (optional)
- Plywood, storm door or plastic (optional)
Step 2: Remove all hardware.
Are you leaving the door attached? Simply remove any doorknob, handles, or knockers.
Prefer to take off the door to paint it? Remove hinges by wedging a chisel or flathead screwdriver between the hinges and gently tapping the tool’s end until the pins loosen. Take the pins out and lay the door down across the two sawhorses.
Step 3: Prepare the surface.
To get a clean finish in the color you imagined, you’ll need to sand and prime the door. First, scrape off any peeling paint. Next, use a sanding block with fine-grit sandpaper to even out the surface of the door. You’ll want to wear a mask and safety goggles while you do this.
If there are any cracks in the door, fill them in with caulk using a putty knife. Once it dries, sand it down until the spots are smooth and even with the surface.
Use a damp cloth to wipe off all the dust and dirt.
Step 4: Prime & paint.
Use painter’s tape to cover the peephole, walls, and anything else you want to protect from a rogue brushstroke. Lay down a drop cloth to catch unwanted drips.
The easiest way to go is a combination of primer and paint, but using a separate primer and paint is always reliable — just don’t skip the primer, which smooths out the texture and protects the door from moisture. Apply one coat of primer to the front and sides of the door with a wide paintbrush. Let it dry completely. If you see any drips, you can lightly sand them down to maintain a smooth surface. If you are painting both sides, repeat on the reverse side.
When the primer is dry, it’s time to paint! Open your paint bucket and stir with the paint stir stick to mix up the color. The best way to paint your front door is to start from the top and work your way down. Use a wide paintbrush for the corners and crevices and a small roller brush for the larger panels. Long brushstrokes will give you the most even coverage.
Let the paint dry, then add extra coats to get the door to your desired level of color saturation. Let it dry completely until the door no longer feels “wet” or “sticky.”
Step 5: Ta-da!
Time for the finishing touches! Remove the painter’s tape and attach all the hardware on the door. If you took the door off to paint it, reattach it to its frame by aligning all the hinges and replacing the pins. Then, you can repurpose your door painting tools and materials to refresh your patio furniture, too!
Now that you’ve given your home’s exterior a facelift with a beautiful entry door, it’s time to refresh the interior (don’t worry, no painting necessary)! Discover budget-friendly home decorating ideas and visit CORT Furniture Outlet for affordable used home furniture sets to make your house feel more like home.


